Wednesday, February 18, 2015

Binding Long-Stitch

I found this on http://sas-does.blogspot.com/2005/01/long-stitch-binding-tutorial-part-1.html and for part 2 http://sas-does.blogspot.ca/2005/01/long-stitch-binding-tutorial-part-2.html  I have combined it all on this webpage

Long-stitch binding tutorial - part 1
In the first part of the tutorial we'll be preparing pages, assembling signatures, and taking measurements for the long-stitched notebook.

1. For this project you will need:
·                     cutting mat (optional but useful)
·                     ruler
·                     x-acto knife or scissors
·                     pencil or pen
·                     needle and thread (used in the second part of the tutorial)
·                     awl (could be replaced by a thick needle, a knitting needle, or any other spiky object)
You will also need:
·                     one-side printed paper (9 sheets)
·                     thicker paper for the notebook cover
___________


2. Fold each one-side printed paper in 4, so that the printed side gets "hidden" inside.  To do so, first fold the page width wise (printed part inside) and then fold it once again to make a 4 1/4 x 5 1/2 rectangle.
___________


3. When all future pages are ready, separate them in groups of 3 (three groups in total) and put one page inside the other, as shown on the picture. 
___________


4. You should end up with 3 signatures - the notebook block.
___________


5. It's now time to figure out dimensions for the cover.  The height of the cover equals the heights of the block (5 1/2 inch).
The width of the cover equals (the width of the block) x2 plus the width of the back of the block (aka the depth of the block).  To measure the depth the block, slightly squeeze signatures together (like on the photo above).  The depth of my block measured a little bit less than 1/32 inch.
The total width of my cover was: 4 1/4 + 4 1/4 + 1/32 = 8 17/32
You can add about 1/8 inch to height measure and width measure - this way your block will be sitting deeper inside the cover.. 
___________


6. Once the cover is measured and cut you will need to score and fold it.  Just measure 4 1/4 of both sides and score lines.
If you added extra 1/8 to your total measure you have to take it in consideration, when scoring  and folding the cover. 
___________


7. When folded, your cover should look similar to the one above.
___________


8. It's now time to mark and pierce signatures.  The height of the signature needs to be divided into 5 sections.  You can choose to have equal-sized section or, like me, make the top and the bottom section bigger (or smaller).  My 3 middle sections measured 1 inch each and my top and bottom sections were 1 1/4 inch each. 
___________


9. Using an awl or a thick needle pierce signatures one by one.  To ensure that holes are spaced equally on each signature use one of them as a guide.
___________

10. The last step is making horizontal slits in the cover.  Once again use one of the signatures as a guide to mark the back of the spine.  Make horizontal slits on the back without crossing the hinge-folds.


-------------------------------------


1.Begin with the first signature.  Pass the thread through the first hole in the signature (from insideand through the first slit in the cover leaving a tail inside the signature.  You will use it to tighten and secure your stitches.
Wrap the thread around the end of the block and the cover, near the hinge-fold.  Bring the thread in and tie two knots. 

___________

2. Pass the thread into the second signature hole and through the cover.
___________


3. And then from outside into the cover and the third hole and from inside out through the fourth hole and the cover.
___________


4. Wrap the thread around the end of the booklet and cover.
___________

5. Pass the thread through the fourth hole of the booklet but not through the cover.
___________


6. Pass the thread through the fourth hole of the second signature.
___________


7. Wrap the thread around the end of the block and insert it through the slit in the cover and back into the last hole.
___________


8. Pass the thread from inside into the third hole and slit and then from outside into the second slit and the hole.
___________


9. Pass the thread from inside out through the first hole and the cover slit.  Wrap the thread around the end of the booklet.
___________


10. Insert the needle into the first hole of the signature.  Do not go through the cover.

___________


11. Bring the third signature and pass the thread from outside into the first hole.  Wrap the thread around the end of the booklet and pass it through the slit in the cover and back into the first hole of the third (last) signature.

___________


12.  Similarly to the first and second signature, pass the thread in and out: into the second hole and slit from inside ..

___________


13. From outside into the third slit and the third hole ...
___________


14.  Into the forth hole and the slit, around the end of the block and once the thread is inside, tighten all the stitches, tie the thread and your are done!

___________


15.  This is how the notebook looks inside.
___________
Although the description of the process seems long, this type of binding is much easier than the coptic stitch.  I also like that the notebooks made this way lay flat when open. Decorative stitching adds a cute touch to these notebooks.


Friday, January 16, 2015

Fried Dandelions

I found this on

Tempura Dandelions

Adapted from The Rhythm of the Family by Amanda Blake Soule and Stephen Soule.
Note: this batter needs to be very, very thin. Watery, even. It just needs to barely coat the flowers with the thinnest possible film of batter. This will help keep the beautiful dandelion shape and give you a nice, crisp crust while the inside quickly softens.
I’ve also read (here) that if you want to reduce the bitter flavour, pull off the bracts (the little downward pointy leaf-like things at the base of the flower head, where the stem attaches). I went ahead and did this, just to make sure our first attempt was as tasty as possible. It’s a little time-consuming, though. You may choose to skip it.
Ingredients
  • Bowl of dandelion heads
  • 3/4 cup flour
  • 1/4 cup corn starch
  • 1 egg
  • 1/2 cup ice-cold water, plus more as needed
  • 1 Tbsp rice wine vinegar
  • 1/4 tsp salt
  • Plenty of heat-stable fat for frying (I used a combo of lard and tallow; you could try coconut oil)
Method
Begin by rinsing the dandelion heads. I ran mine through my salad spinner as well, though it’s not too important. They’ll look a little soggy and unappetizing at this point, but they’ll return to their original pretty shape when they’re fried.
In a small pot, begin to heat/melt your fat over medium-high heat — you want it to be between 1-2 inches deep.
In a small bowl, combine flour and cornstarch. In a second, larger bowl, beat egg until frothy, then add the ice water, vinegar, and salt, and beat some more. Add flour mixture and whisk until just combined (you don’t want to overmix). If needed, add some more ice water until batter is thin and very watery.
Take your bowl of batter and your bowl of dandelions to your stove. Your fat should be nice and hot by now. Sprinkle a pinch of flour into the fat to test — if it immediately fizzes up, you’re ready.
Begin to dip the flower heads into the batter, one at a time, letting the watery batter drip off for a moment before  dropping them carefully in the hot fat, petal-side down. Once they’re golden, turn them over with tongs to fry the other side.
Frying tempura dandelions
When both sides are golden, remove dandies with tongs to a paper-towel-lined plate.
Continue dipping and frying dandelions in batches until they’re all done.
Serve alone or with your favourite mayo dip. Yum!
tempura dandelions

Continuous Brew Kombucha

I found this on http://www.picklemetoo.com/2012/03/02/kombucha-continuous-brewing-system/

I must admit I tried fermenting kombucha before.  I grew my scoby from a bottle of store bought kombucha.  Then I started fermenting my kombucha and it became a science project on top of my frig until all the fluid was evaporated out.

Now I want to try a continuous brewing system because it will eliminate the problems I had with remembering when the batch ended and getting it poured off into bottle for a second fermentation.

Here is what I found on the above referenced website.

Equipment needed:
  • Glass beverage dispenser, the kind with a plastic spigot at the bottom.  You don’t want any metal in contact with the tea as it can damage the SCOBY.  It should hold 1-5 gallons.  Mine holds 1.5 gallons.
  • Tea ball (if using loose leaf tea).
  • 1 gallon jug to store sweetened tea.
Ingredients for 1 gallon of tea:
  • 1 cup of sugar (1/4 cup per quart of water)
  • 8 tea bags* (2 bags per quart of water)
  • 4 quarts filtered water divided (or amount needed)
  • 2 cups Kombucha starter tea (1/2 cup per quart of water)
  • Kombucha mother
This makes enough tea for a 1 gallon container.  Adjust the amount as needed to fill your container.
Add 1 quart of water, sugar and tea to a saucepan and bring to a gentle boil.  Remove from heat and let steep for about 15 min.  Remove tea bags. Add remaining 3 quarts of cold filtered water.
Once tea is cooled to room temperature, pour into your system and add starter tea and kombucha mother.  Cover with a cloth, secured with a rubber band.  Let set in a warm place for about a week.  Taste test at this time. If it’s too sweet, let set a little longer.  You might need to find a warmer place.  I keep mine near my crock pot which is always running making bone broth.  Kombucha can culture for up to 6 weeks.
*Black tea is best for the health of the SCOBY.  Green tea works well too.  If you want to use white tea, red tea or an herbal tea, use it in combination with black tea.  My favorite is a 50/50 blend of English Breakfast tea with green tea.  Avoid flavored teas (like Earl Grey) since they can damage the SCOBY.  Add flavor during the second ferment.
Harvesting Kombucha
Once Kombucha is to your liking, drain off as much as you would like to drink for a few days and replace with more sweetened tea, prepared with the above ratios.  When adding new tea, you don’t need to add more kombucha starter since it’s already in the container. Just make sure to always leave about 20% of the tea in the container.
I remove and replace about a quart at a time.  Doing a small switch like this makes the kombucha culture faster.  Culturing a ratio of 1 part sweet tea to 4-5 parts kombucha tea, as opposed to 1 gallon to 2 cups, goes faster and is usually done in a matter of just a couple days.
**Time saving tip:  I keep a gallon jug of sweetened tea in my fridge so I don’t have to make it every time I drain off kombucha**
Tea Concentrate
This will be used in a 1 tea concentrate to 3 water ration.
  • Boil 1qt of water, 8 tea bags, & 1 c sugar.
  • Allow to steep for 10-15 minutes.
  • Remove tea bags
  • Tranfer to container and store in frig.
When more sugar tea is need for the fermentor keep it at a 1:3 ratio.  ie. 1 cup tea concentrate to 3 cups of water.  This will make a quart.  Scale up or down as needed.
You can drink the tea as is or do a second fermentation with juice, fruit and/or spices to add some fizz and yumminess.  See my recipe suggestion page: http://www.picklemetoo.com/kombucha.html
That’s all there is to it!  Just gently add sweetened tea as you drain off your kombucha.  Your SCOBY will grow, covering the entire top of your brewing system.  If it gets too large, you can always gently remove it and with plastic utensils, cut off portions to share with friends.

2nd Fermentation


Bottle Size
Juice Amt
FrozenConcAmt
8oz
2T
1t
16oz
1/4c
3/4T
24oz
1/3c
1T
32oz
1/2c
1.5T

Flavor options:
I like to fresh squeeze my juices (when I can) and then strain out the pulp & seeds with a nut milk bag, muslin, or cheesecloth. I then use the pulp to make pulp crackers in my dehydrator or add it to smoothies or baked goods. Get creative!
-Cherry vanilla (Cherry juice and a few tsp of vanilla extract)
-Orange Grapefruit (Orange juice and Grapefruit juice. Fresh squeezed is always best!)
-Pineapple pomegranate (My favorite!)
-Apple berry (Apple juice and mixed berries)
-Peach
-Mango strawberry
-Kiwi (a favorite)
-Watermelon lime (Ha! this one is easy. Watermelon has so much juice to share ).
-Blueberry lemon
-Ginger lemon (Boil a handful of fresh chopped ginger for a few hours to make a syrup. This syrup if potent so you might not need the whole amount I recommended. A few tsp-TBS of lemon juice should be good, just taste it as you go if you question yourself!)
-Raspberry grape (Careful, grape tastes like wine pretty quickly- only ferment a few hours!)

Kombucha Scoby from Store Bought Kombucha

I have been looking around the web on how to grow my own scoby.  I don't know anybody that has one available.

So I bought me some kombucha.  I read the label in the store and thought it would have live cultures and wasn't pasteurized and it even looked like it had a baby scoby developing.
 
But of course when I was reading on online today I came across a website that states that GT's Enlightened Komucha has an additional culture in it that doesn't support healthy scoby growth.  Well this was the only thing available in the store so I decided to give it a try. 

Instructions

Brew 2 cups of water with 2 tea bags and 3T of sugar in a quart jar.  Let it cool and added almost the whole bottle (14-16oz) of kombucha except for the little bit I poured off to drink.

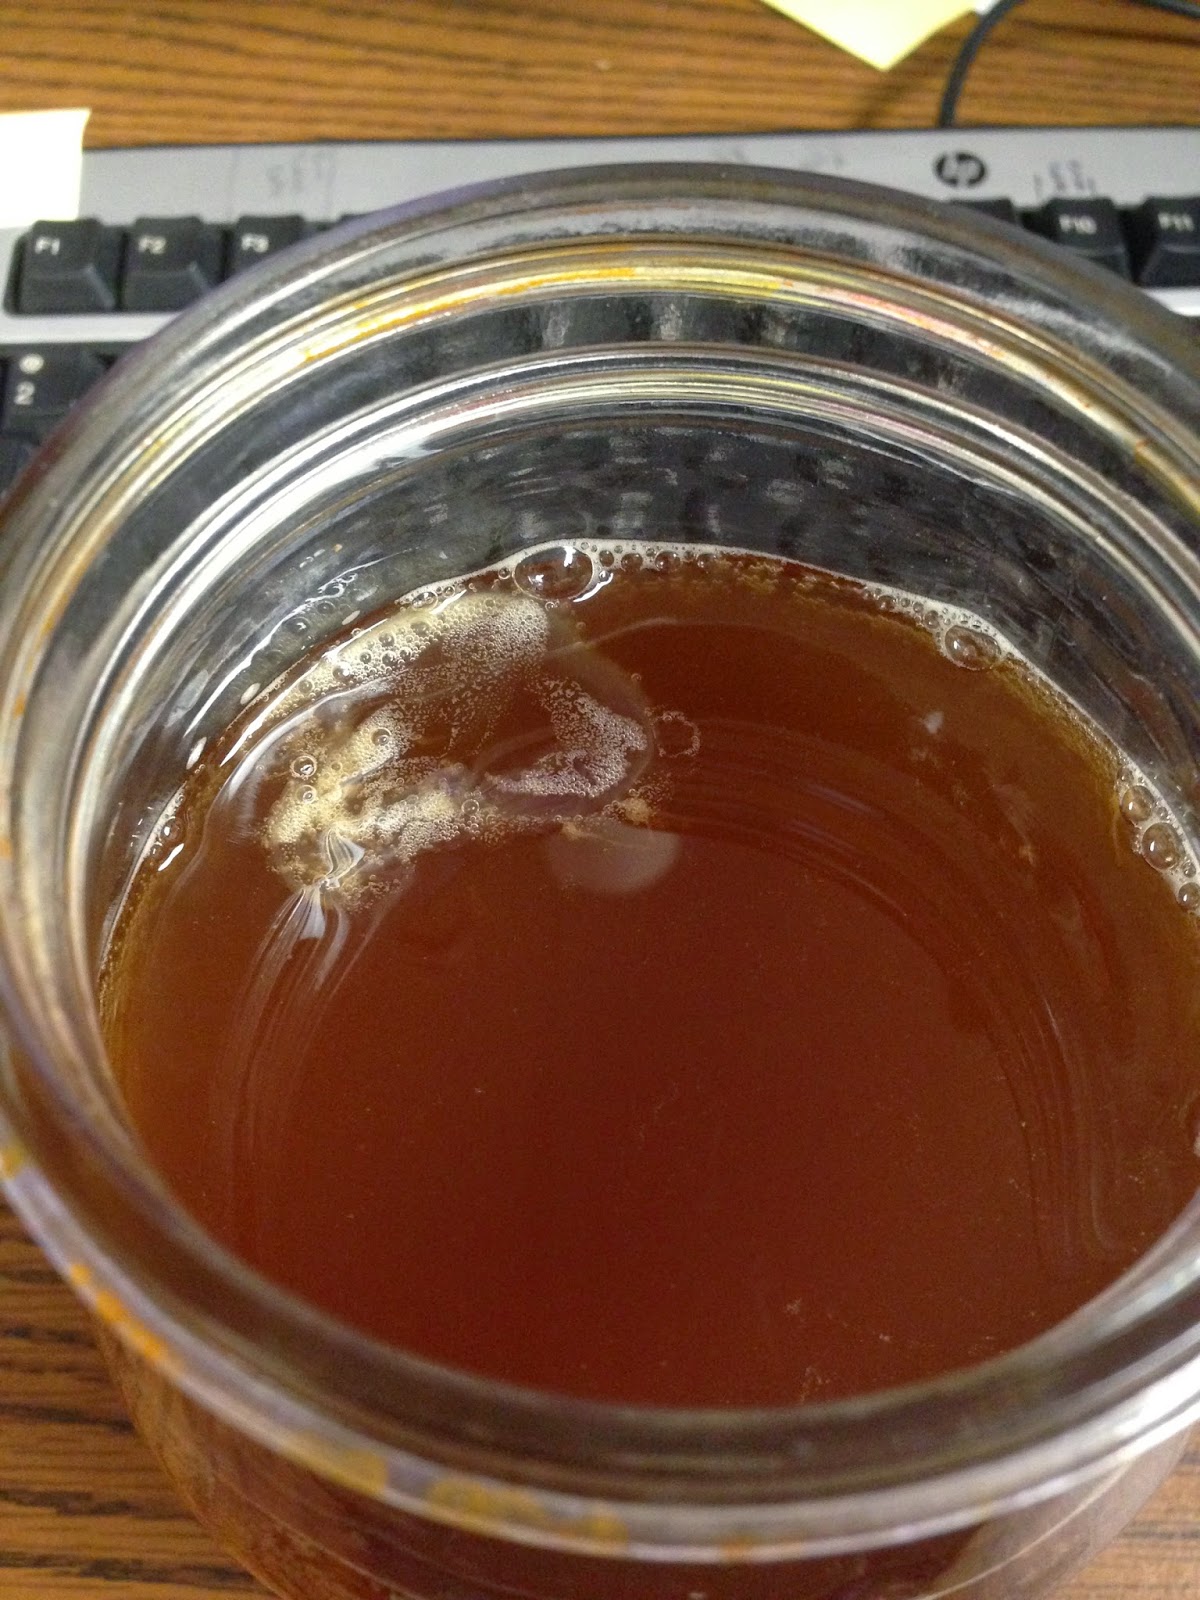
Here are my starting picture (started 1/16/15).  I am doing this at work because the building temperture is more constant and warmer than at home.  Our house is never above 68F unless it is warmer outside and we are done running the furnace.  Our thermostat is set crazy low.

I will continue to post as time progresses.


Scoby Experiment

I found this on http://www.foodrenegade.com/kombucha-scoby-experiment/

MY KOMBUCHA SCOBY EXPERIMENT

I began by getting my starter cultures:
  • Kombucha Scoby Starter Culture #1 — A bottle of store-bought kombucha.
  • Kombucha Scoby Starter Culture #2 — A dehydrated scoby from a reputable online supplier.
  • Kombucha Scoby Starter Culture #3 — A fresh scoby from a reputable online supplier.
Next, I got everything ready for them to flourish — organic black tea, organic sugar, filtered water, and identical brewing vessels.
Then, I got busy growing. Here are my results.

KOMBUCHA SCOBY STARTER CULTURE #1

I followed my own instructions to a tee, just like I did years ago.
After three weeks, the new culture looked like this:
kombuch scoby store bought

Do you see what I see? A whole bunch of nothing! Absolutely nothing grew. Sure, there’s some small bubbles. But that’s how much growth I expect to see after three to five days, not three weeks.
Okay, I thought, maybe I just got an off bottle that had been on the shelf too long.
So I bought another bottle and did it again.
It also failed.
I gave it one last shot.
It failed, too.

WHY CAN’T I GROW A KOMBUCHA SCOBY FROM A STORE-BOUGHT BOTTLE ANYMORE?

You may or may not remember the great kombucha recall of 2010. Kombucha was pulled off store shelves across the U.S. because it had been feared that some brands were too alcoholic to be sold as a regular beverage.
Most major brands reformulated their kombucha, then put it back on store shelves promising that it would no longer be possible for their kombucha to contain too much alcohol.
Whatever they did, I think they made it virtually impossible to grow a kombucha scoby from a store-bought bottle of kombucha anymore.
Some companies, like Dave’s GT, have even started adding a supplement called GBI-30 to their “Enlightened” (AKA kombucha for those under 21) bottled booch. GBI-30 is a patented pro-biotic that is non-native to the Kombucha culture.
I don’t know precisely why they added this to their formula, or how it prevents the growth of alcohol, but it doesn’t make sense to include GBI-30 in your homemade kombucha scoby. It’s not part of the normal fermentation process for kombucha, so I can imagine that it is also somehow interfering with our ability to grow a fresh kombucha scoby from the bottled brew.