So internet to the rescue. This was the preferred instructions that I found.
https://feltmagnet.com/textiles-sewing/Rag-Quilts-How-to-make-a-Denim-Rag-Quilt
I coping the instruction here so if the page dies I will still have the instructions.
Making a Denim Rag Quilt
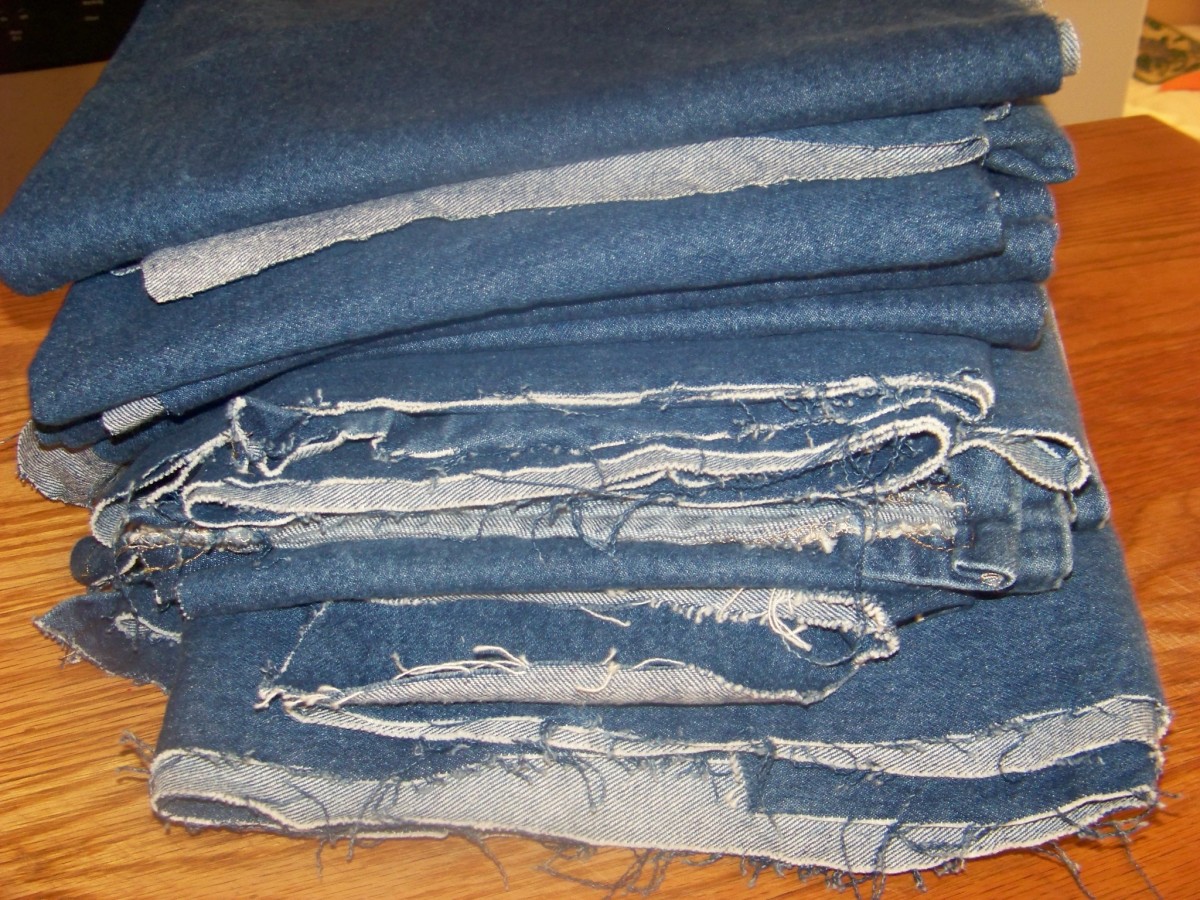
The first thing I did was remove all seams and zippers so all I was left with was big panels of denim. It came to quite a bit of fabric so this would be enough to make the quilt I wanted to make.
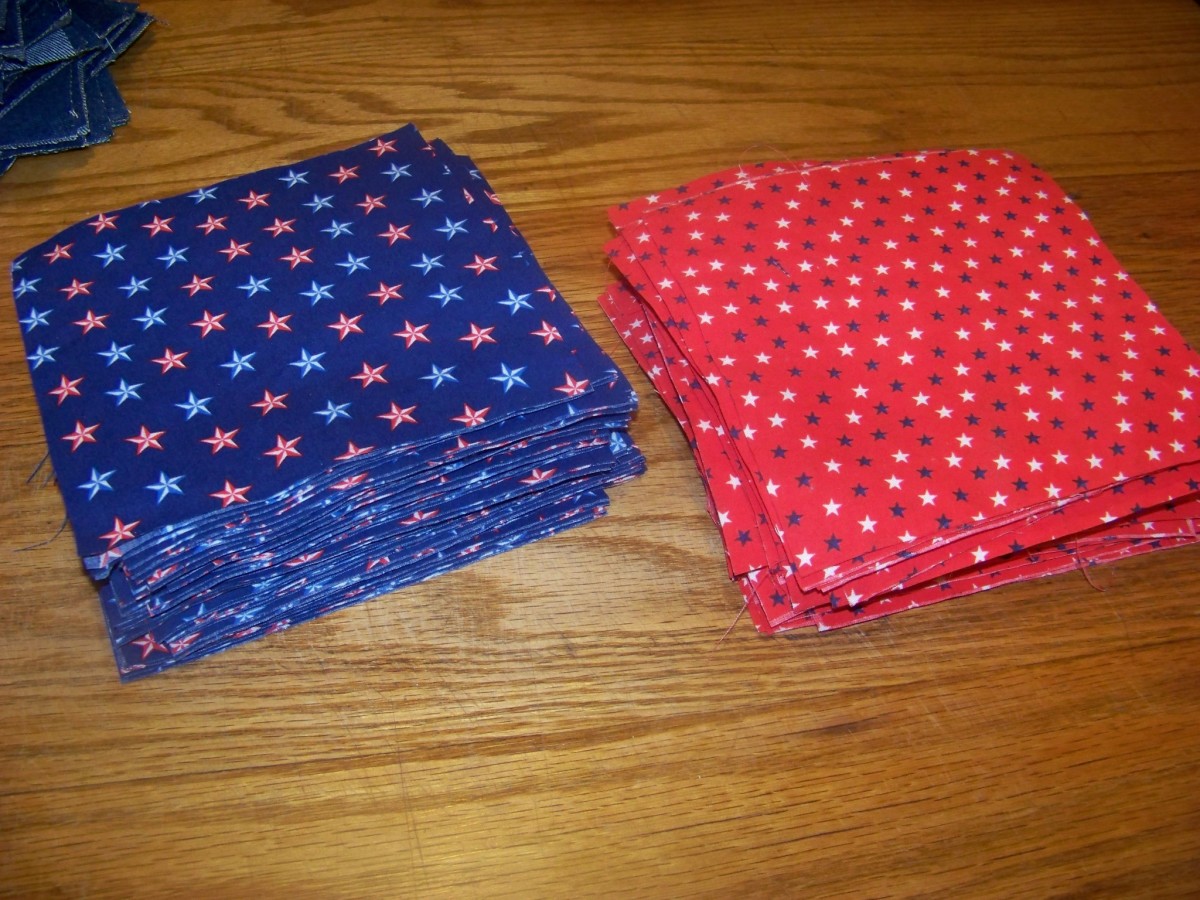
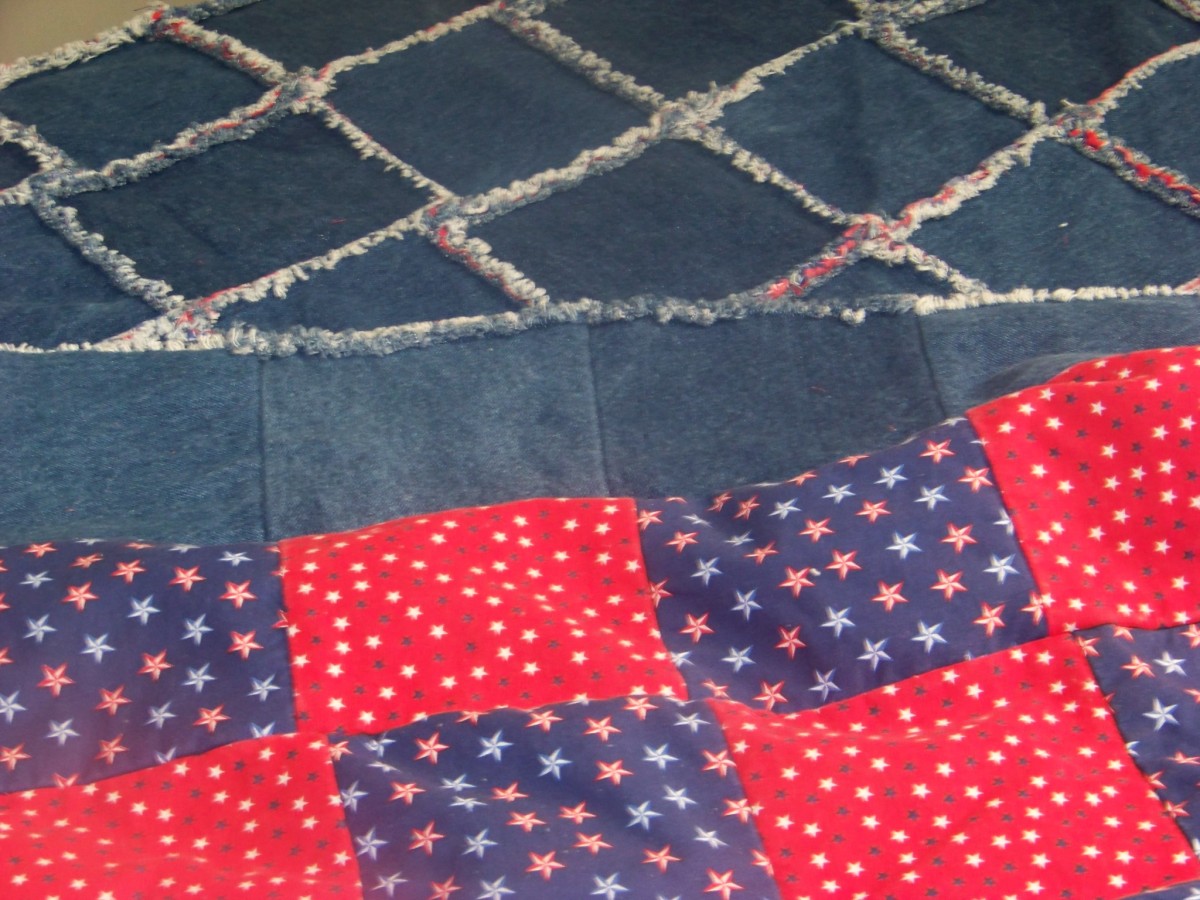
I also had some red and blue patriotic fabric about four yards of each so I had plenty of that for the back of the quilt. I opted not to use batting for padding for this quilt, since denim is already pretty heavy.
supplies
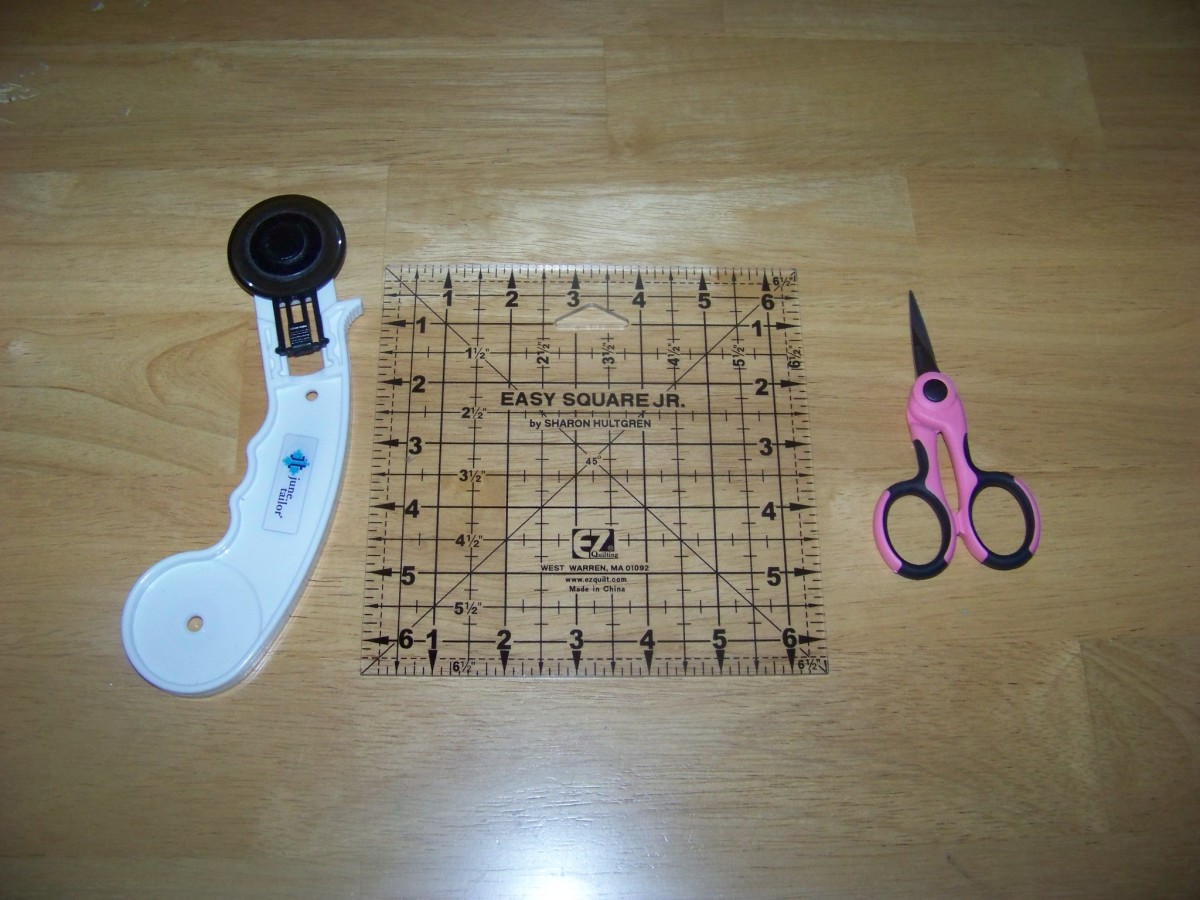
Supplies
Now that I had the material I had to cut all of it into blocks, I used a rolling cutter and 6" x 6" acrylic block to cut the fabric. You will also need a small pair of very sharp scissors later to snip the seam allowances.
I used just my plain old sewing machine to put the blocks together, and a 100/16 size sewing needle for heavyweight fabrics.
Cutting the Blocks
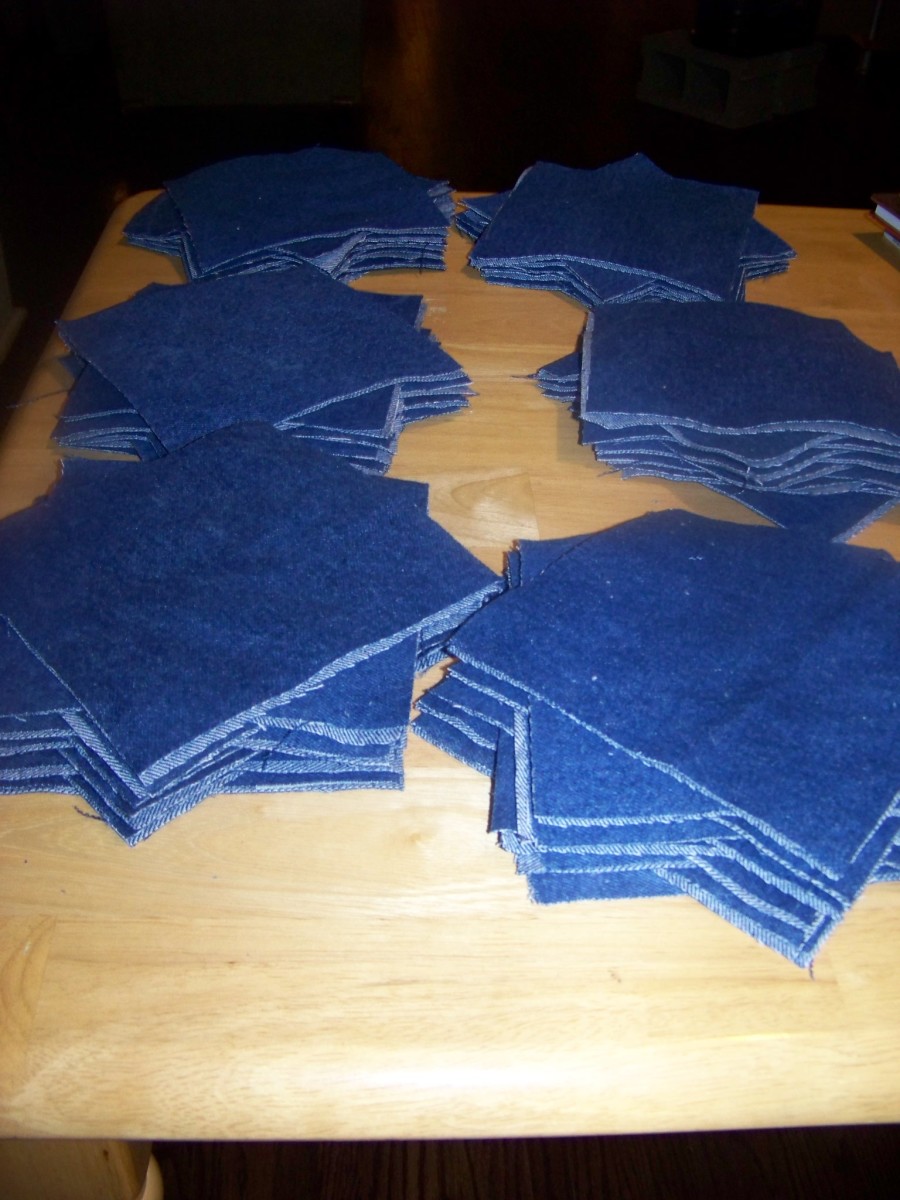
The first thing I did was cut all the blocks. A 6"x 6" block will make a 5" block if you allow a 1/2" seam allowance so that is what I did.
So this quilt was made 12 blocks x 14 blocks, which would be 60" wide x 70" long. This size quilt will be big enough for a twin size bed or in this case my husband has already claimed it for his sleeper in his big truck.
But using these simple measurements you could add or take away depending on how big you want your quilt to be. This quilt used a total of 168 blocks for the front and 168 blocks for the back.
Cut Quilt Blocks
Arrange the Blocks
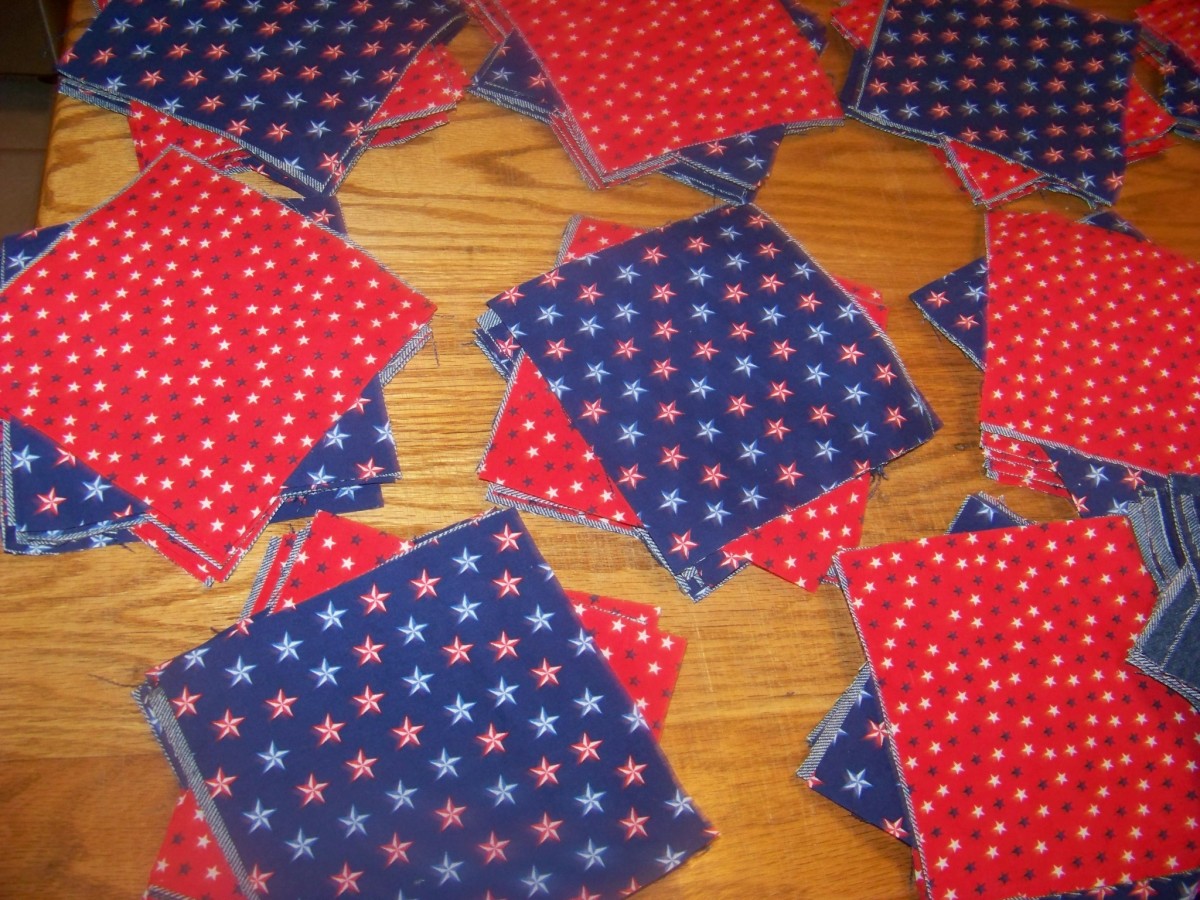
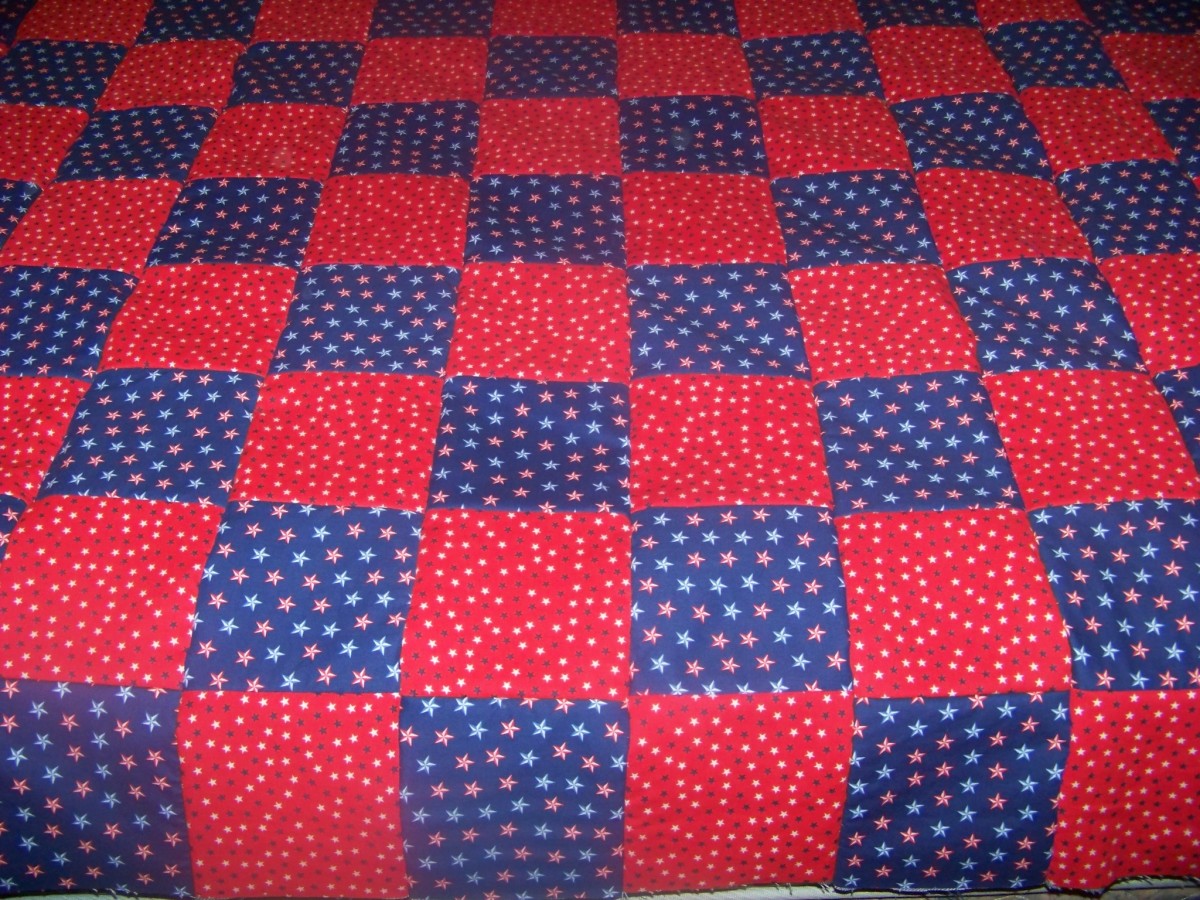
Once all the material is cut up into blocks, you will then want to lay out each row the way you want the material to show. In this case I wanted a completely denim quilt top, with red and blue repeated blocks on the back of the quilt.
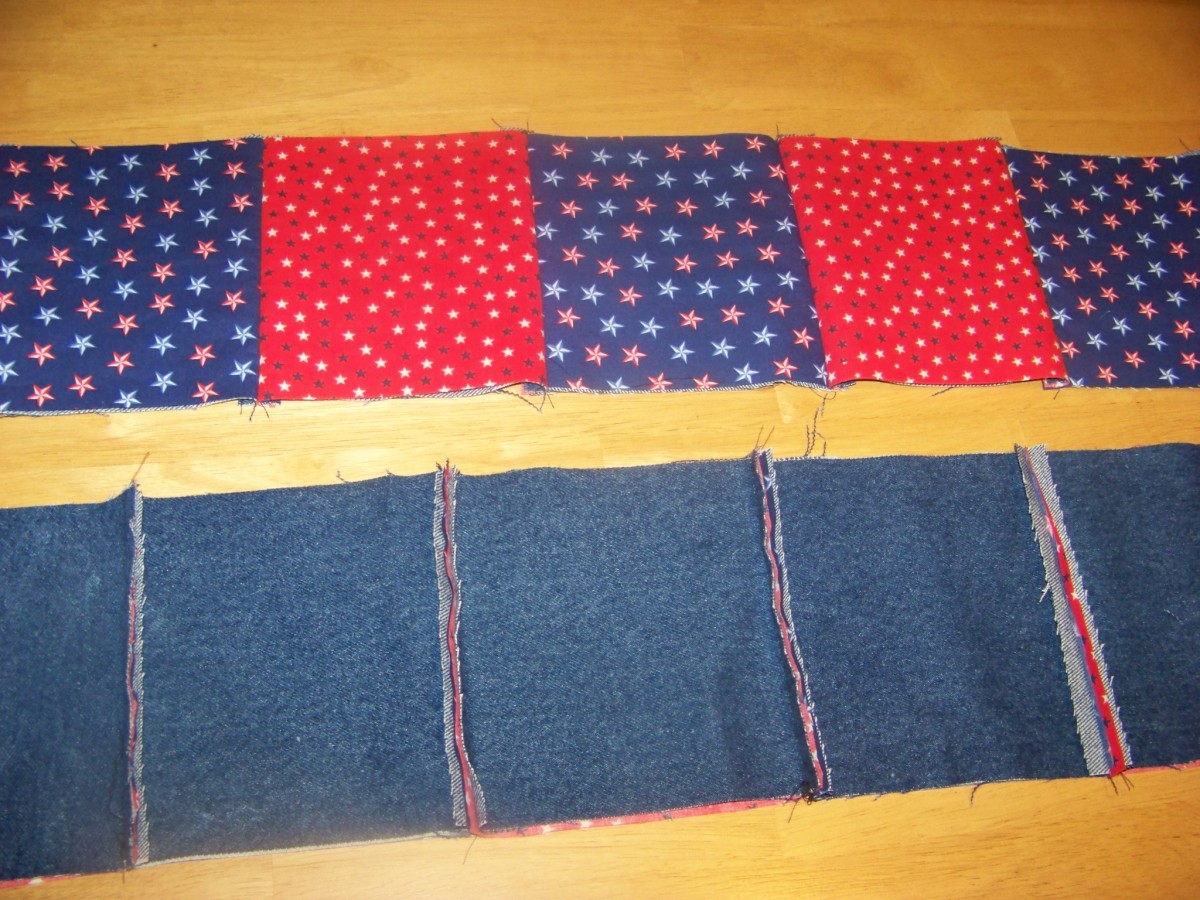
Lay out one row of twelve of the backing fabric, with right sides of fabric facing down. Rotating blue then red or whatever pattern you wish to accomplish. Then you will layer a block of denim over the backing material, with wrong sides together, this means the right side of denim will be facing up.
Do this at 10 rows of 12 blocks, So looking at it you should have all blocks to be one backing fabric and one denim.
Sew Blocks Together
Once you have your rows all planned and organized you can start sewing the rows together.
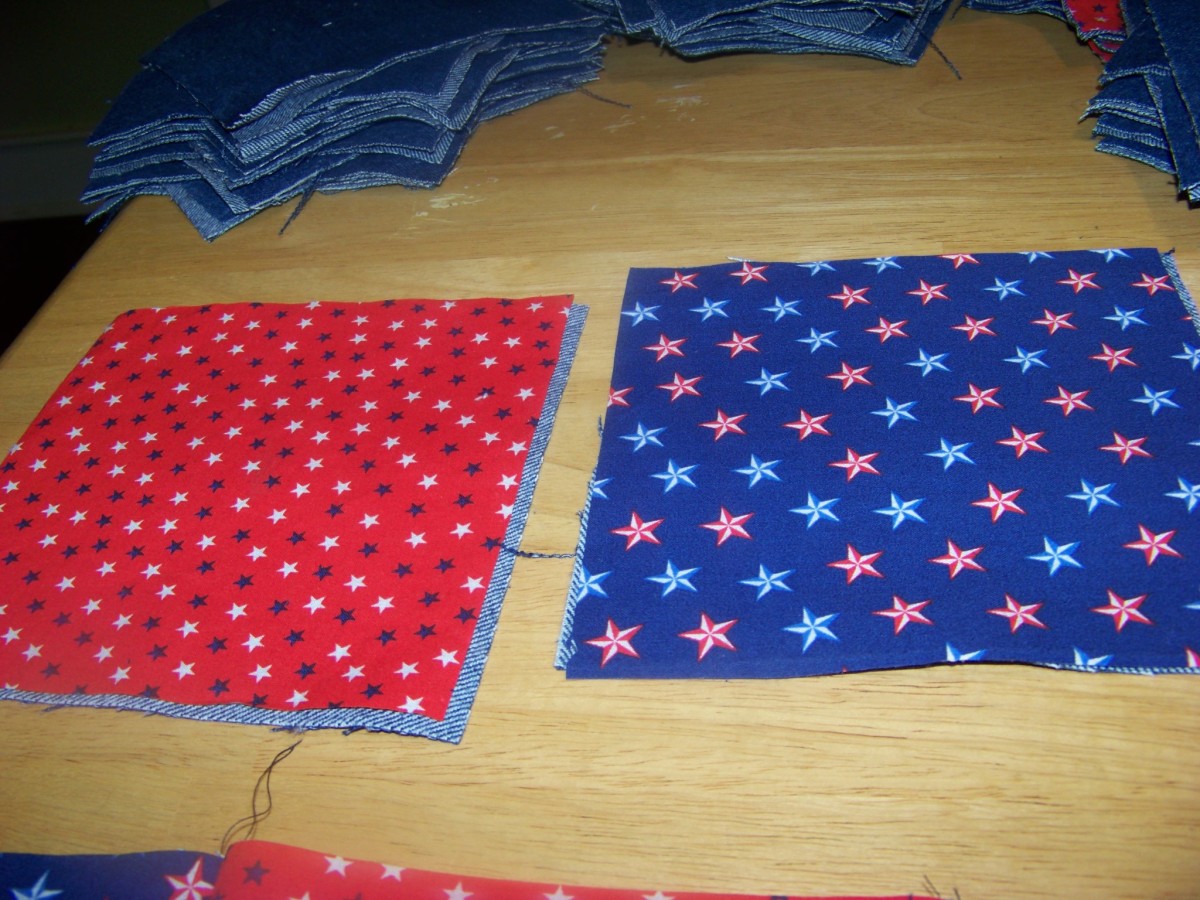
Sew each block with backing materials facing each other and denim side facing out. Sew a least a 1/2 inch seam allowance, so you will have enough for snipping.
So you should in thin instance have at least 12 rows of denim on one side and alternating red and blue material on the bottom with all seams showing on the denim side.
Once all the rows are sewed you may want to press open all seams to make it easier to sew the rows together.
Sew Rows Together
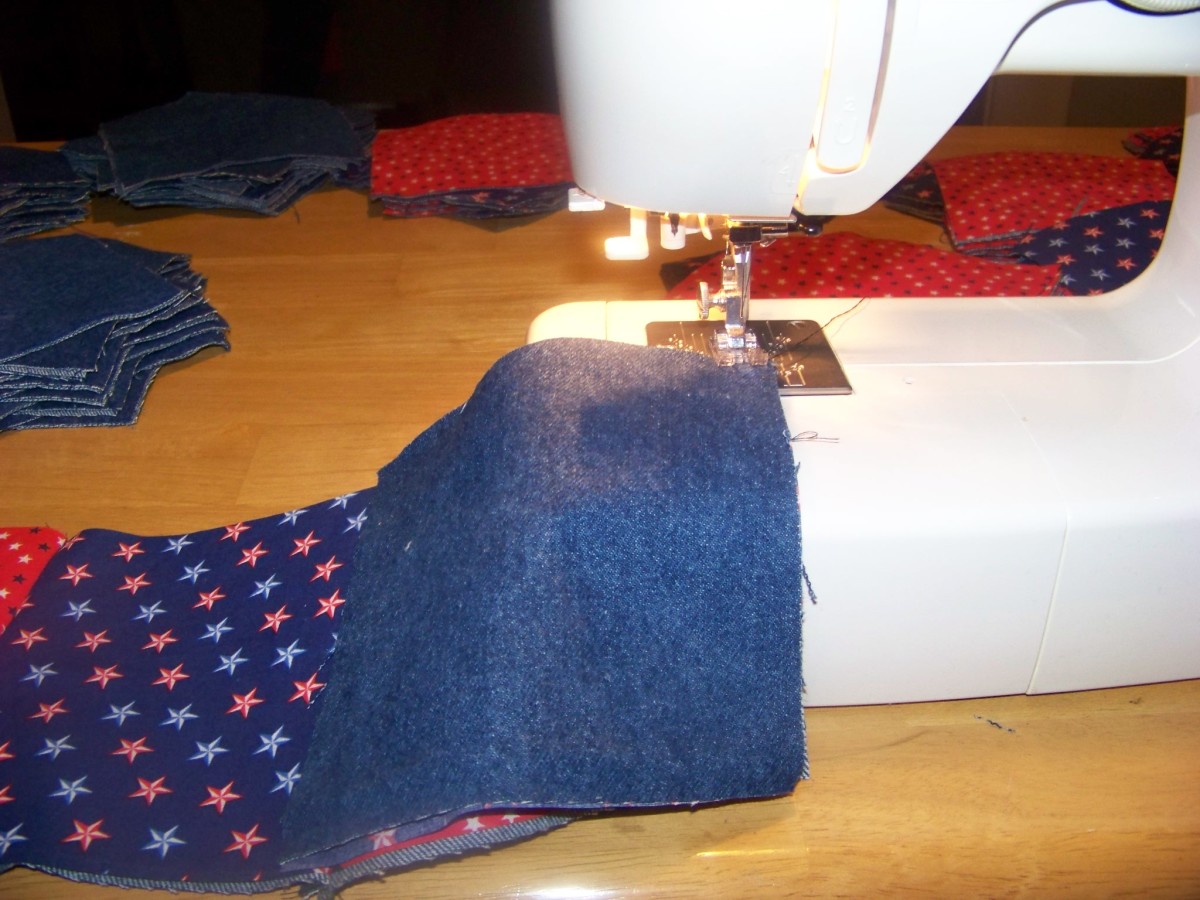
Once all the rows are sewed you should have 12 rows. Now you can sew all the rows together.
Keep in mind as you sew the rows together, that you line up all the seams, and denim does have a little give in it so make sure that you watch that it doesn't stretch to much, while sewing.
This is a very forgiving quilt so if it is off a smidgen it won't matter to much but you do want to keep all the rows matching up as much as possible, so you don't have one row longer than the other.
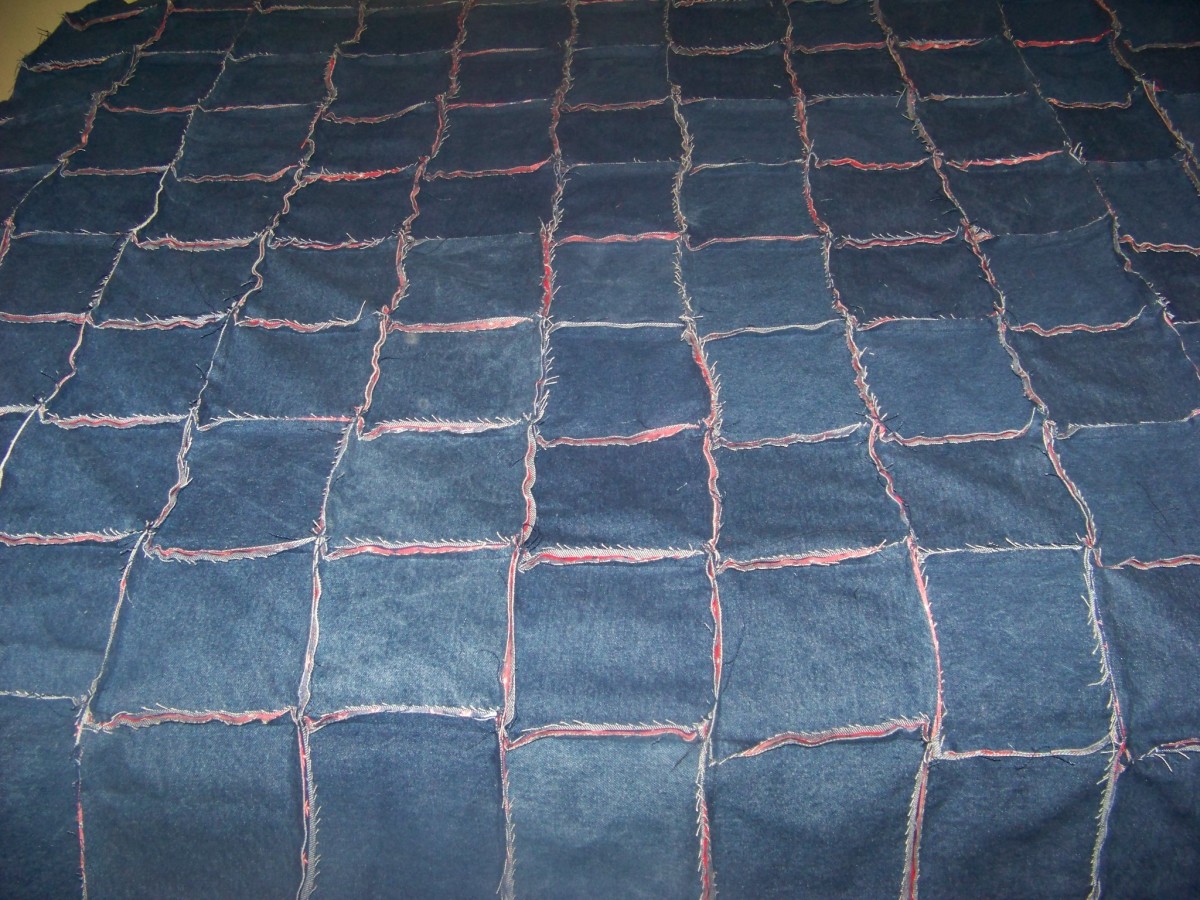
Once all rows are sewed together you should now have a quilt that is the complete size.
Now sew along the edge of the whole quilt, with a 5/8ths inch seam allowance. So that all the edges will be able to fray as well.
Snipping all the Seams.
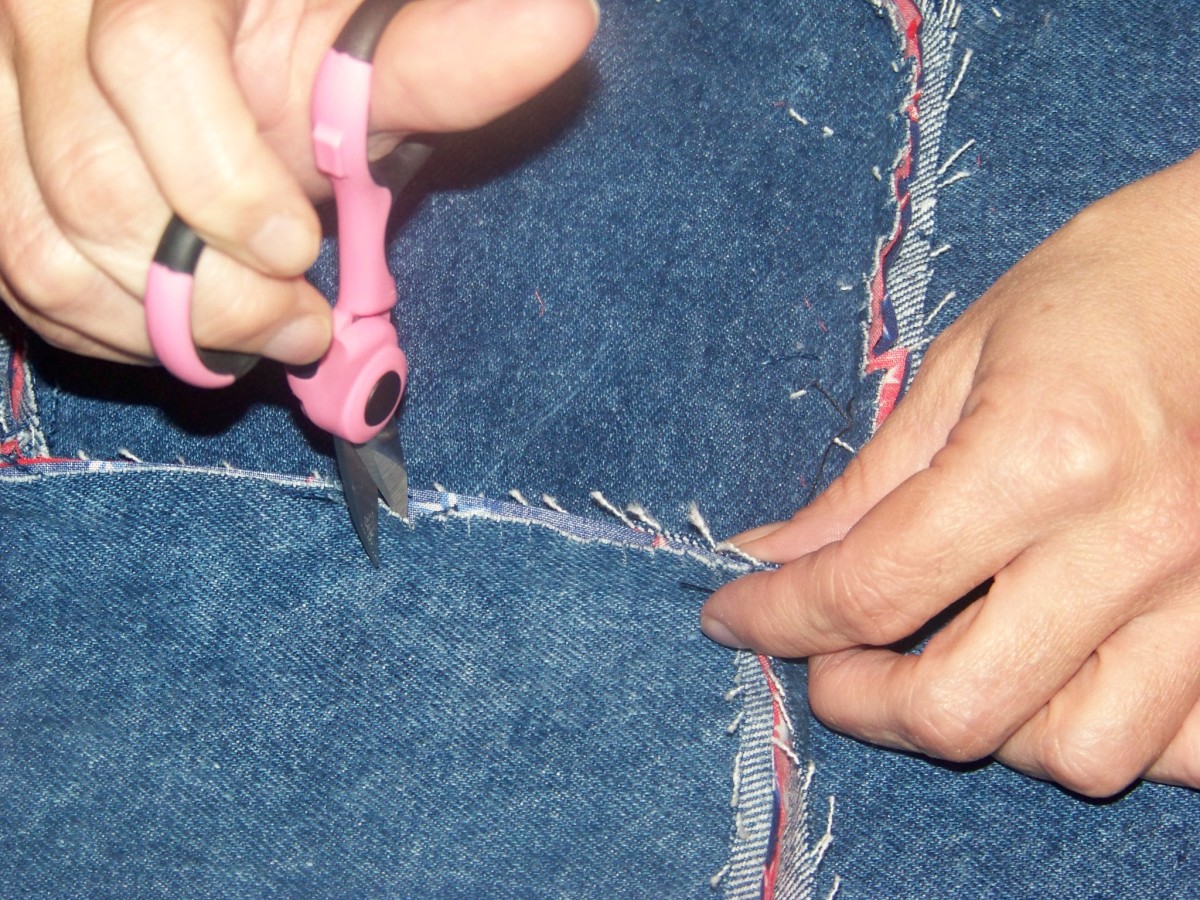
Now that you have the sewing complete you will need to snip the seams.
Snipping the seams will make it easier for them to fray out to get that ragged look you are looking for.
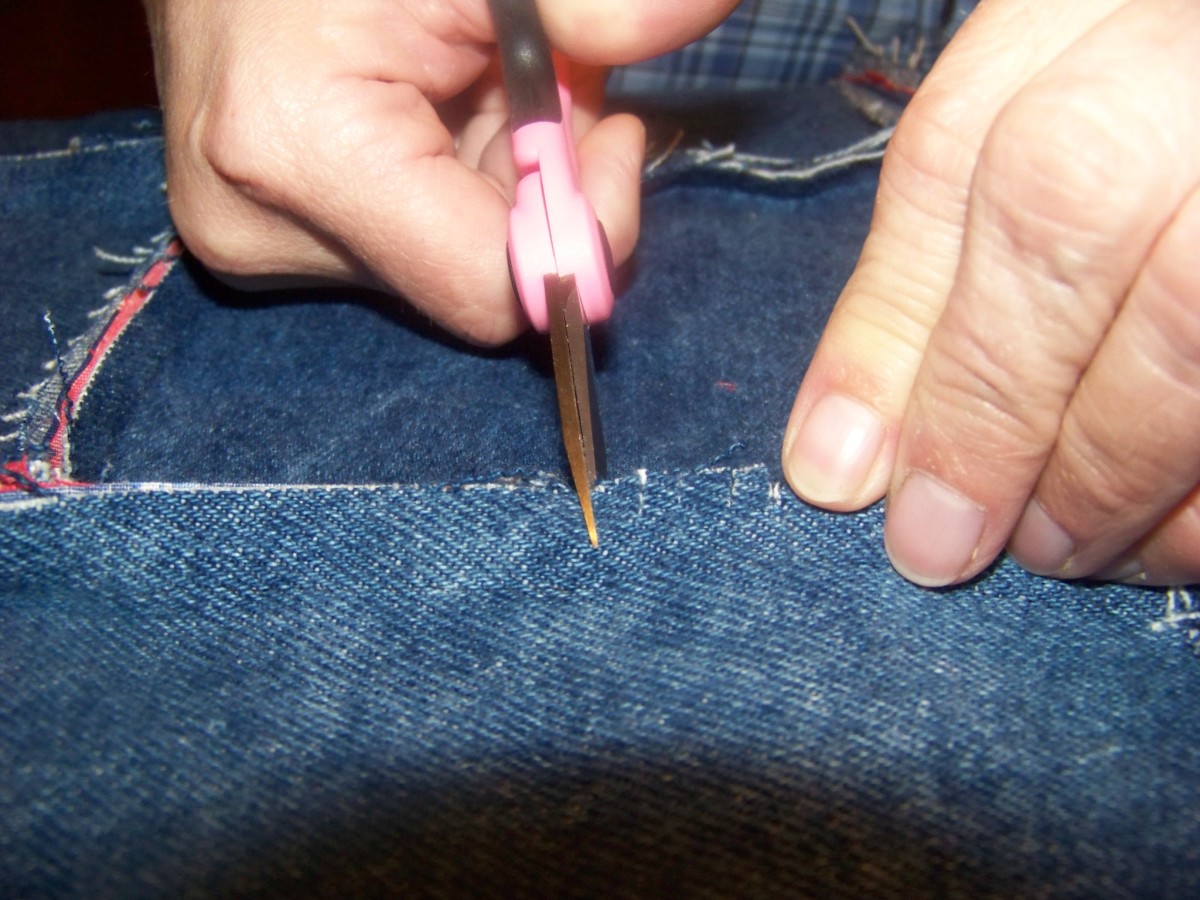
I snipped all the seam, through all the layers of the fabric. And make sure that you snip close to the sewed lines, but making sure you do not cut the actual sewing thread.
I snipped about every 1/4 to 1/2 inch, on every seam. This is the most time consuming of all the steps.
Wash the quilt
Now that all the snipping is done, you will have to wash the quilt to help the fraying process. (Take to laundry mat to wash and dry the first time)
You should be able to wash the quilt in any washing machine, just be sure to clean out the machine once it is washed because you will most likely have some lint in the machine.
But most of the lint will come out in the dryer. Once you have dried the quilt for about 10 minutes clean out the lint trap, and continue drying cleaning out the lint trap after every 10 to 15 minutes of drying because this quilt will fill up the lint trap fast.
You may also need to take the quilt out every so often, and take it outside to shake the quilt out to help loosen even more of the lint.
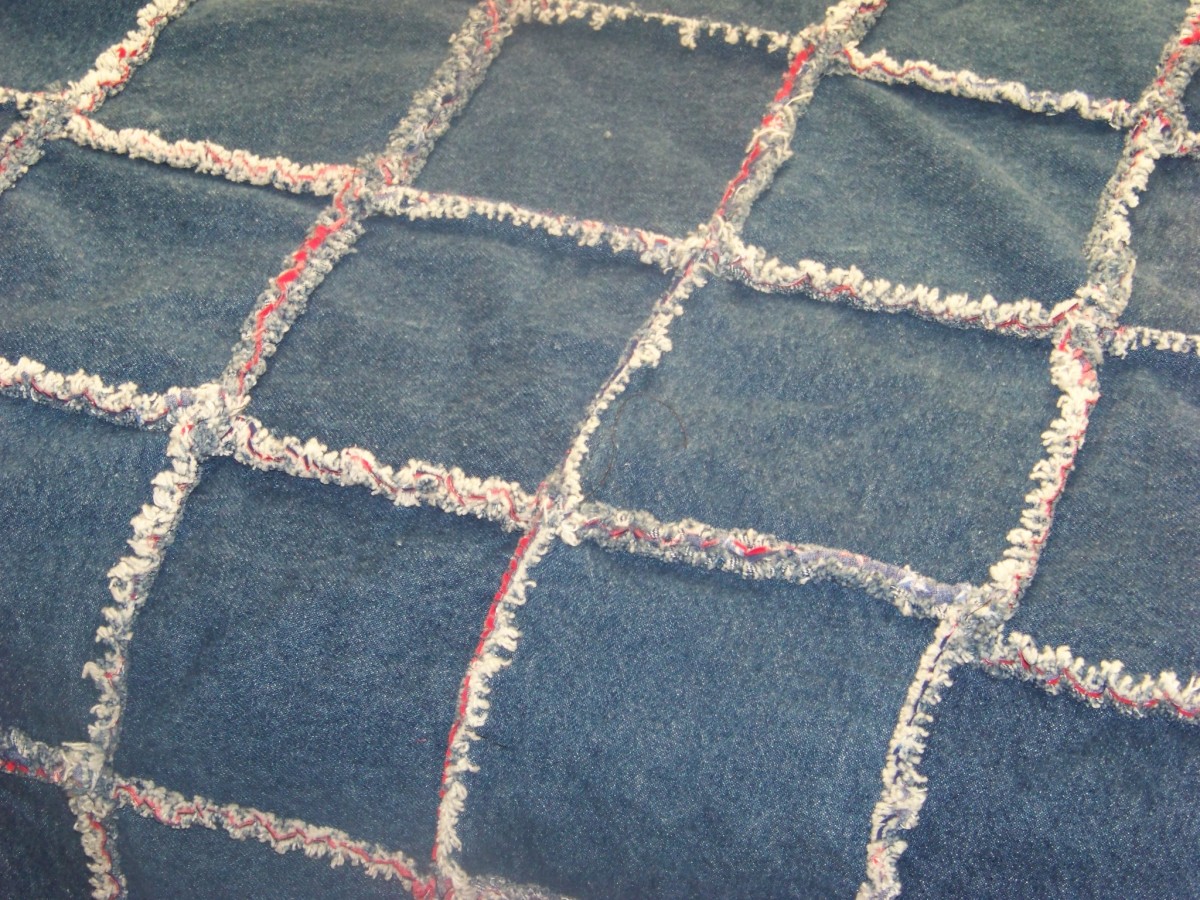
Once it is completely dry and shaken out, you will see a significant difference in how frayed the seams are.
Some recommend that you take a stiff bristle brush and brush all the seams out and wash the quilt again. But it may not be necessary, and it will fray more and more with each washing.
This quilt will be very durable and should give you years of use.
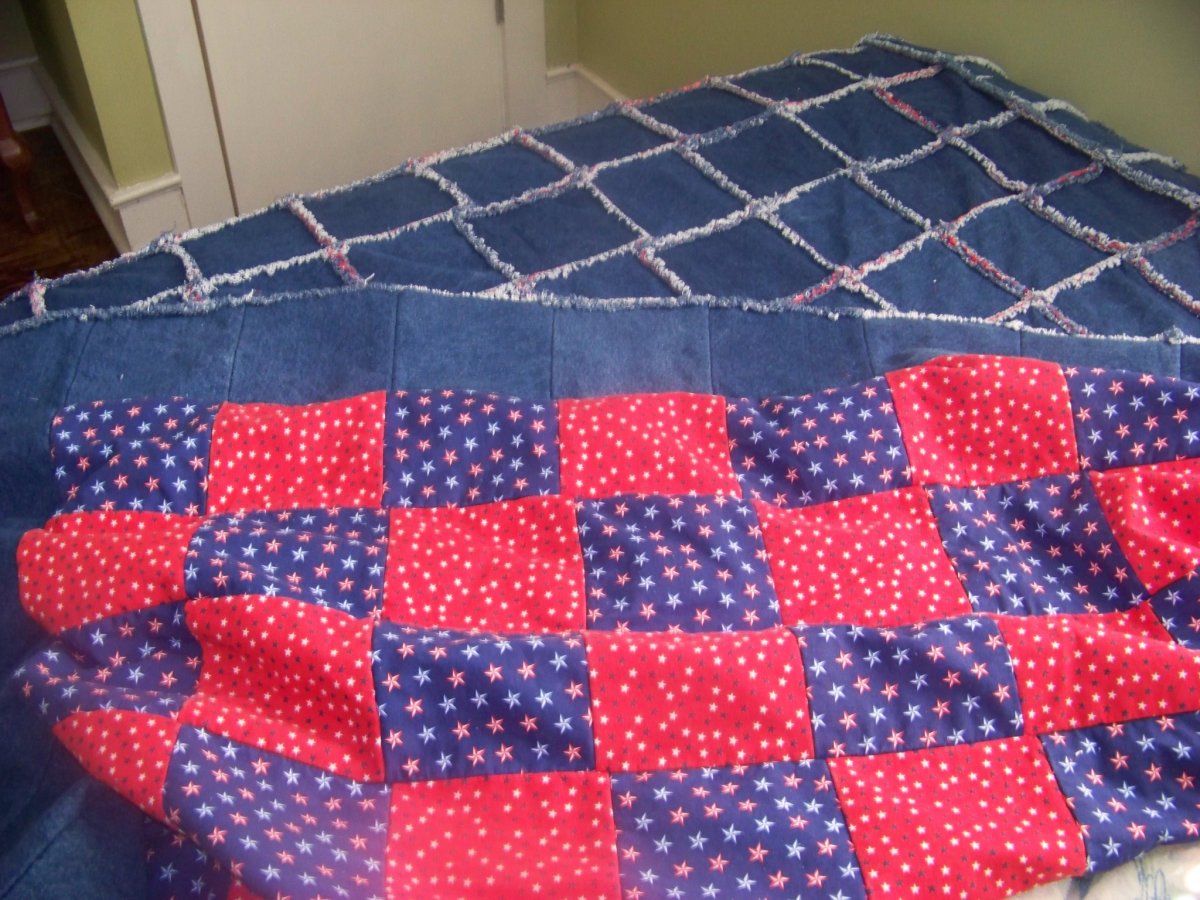
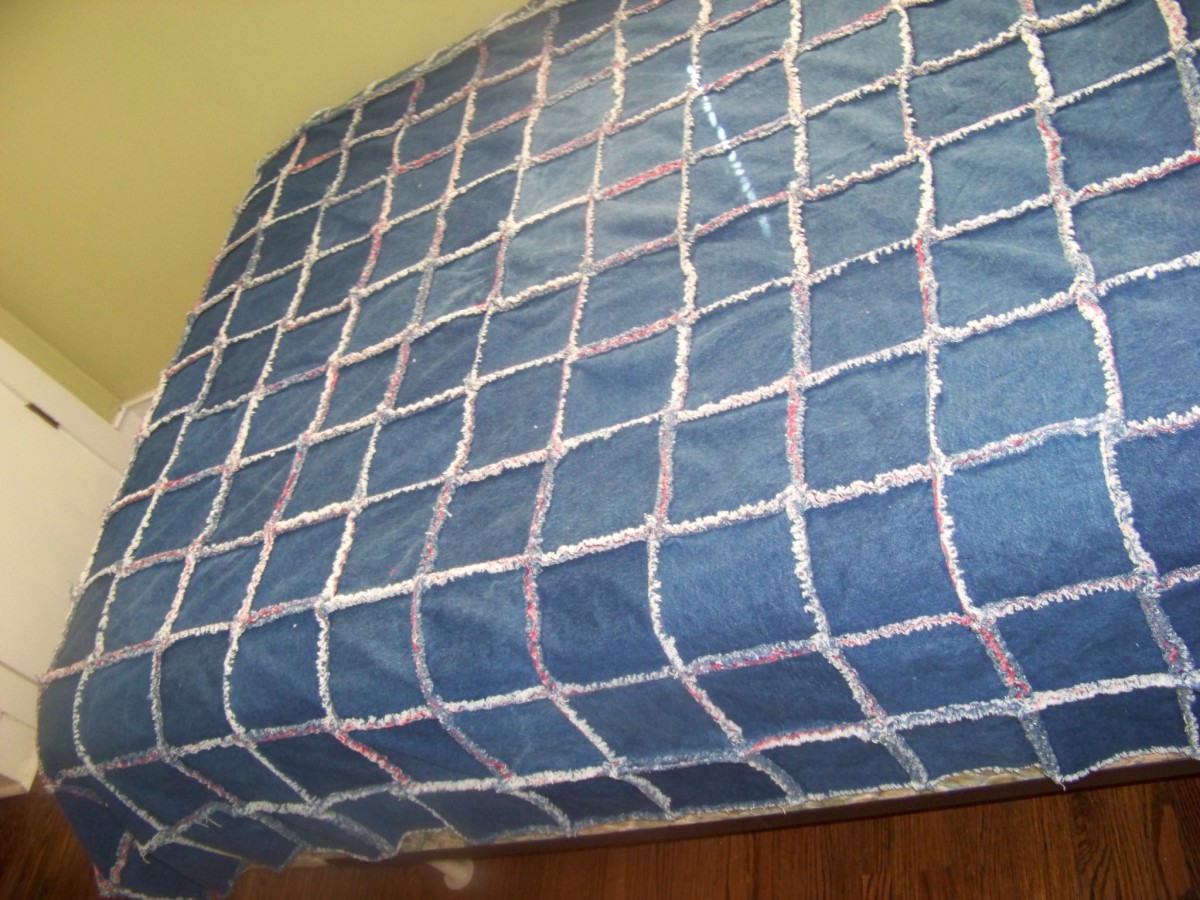
Finished Quilt Pictures

No comments:
Post a Comment