needing a place to save the info I find. Pertinent links https://www.liveeatlearn.com/the-simple-guide-to-kickass-kombucha/
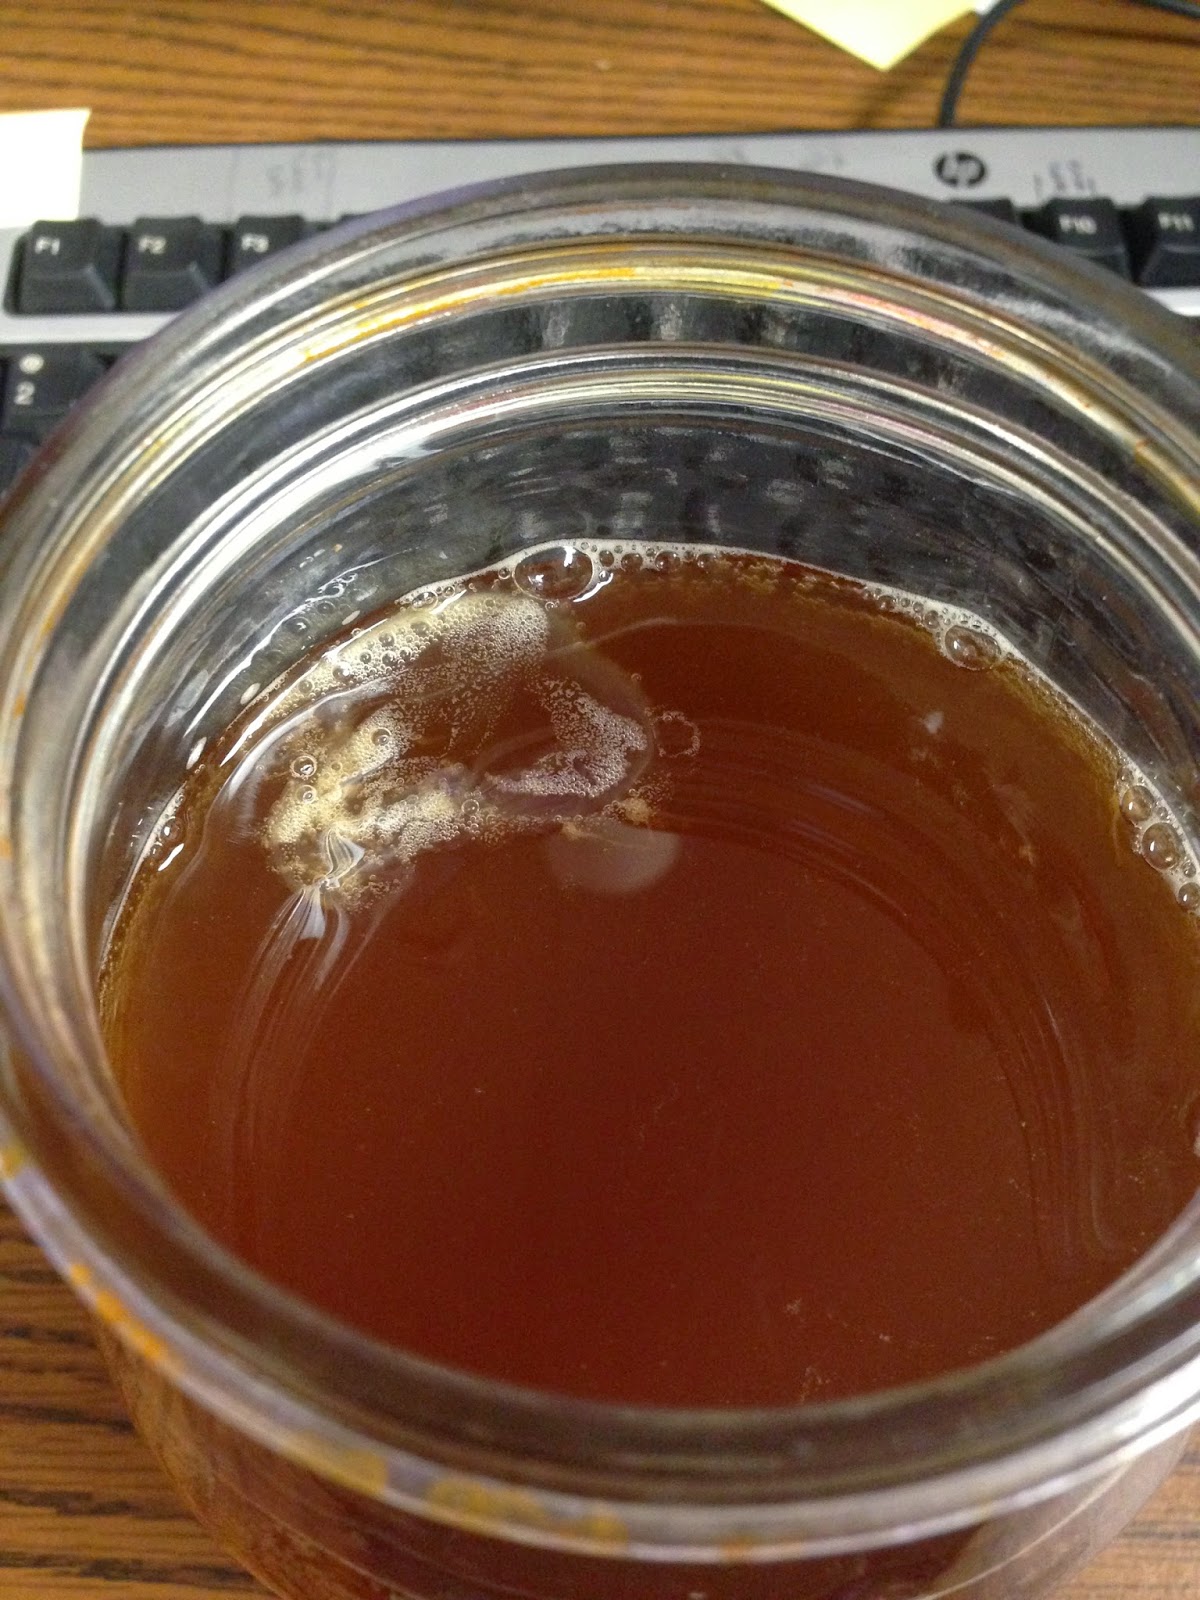
Kombucha
These instructions outline how to make homemade kombucha. For more in-depth instructions and tips, see the article above this recipe card.Ingredients
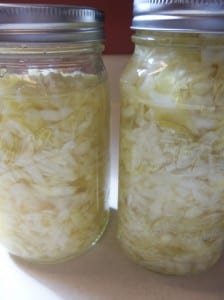
Making a SCOBY
- 7 cups clean water 1.6 L
- ½ cup white sugar 100 g
- 4 bags black tea or 1 Tbsp loose tea
- 1 cup unpasteurized, unflavored store-bought kombucha 235 mL
First Fermentation
- 14 cups clean water 3.5 quarts, 3.3 L
- 1 cup white sugar 200 g
- 8 bags black or green tea or 2 Tbsp loose leaf
- 2 cups unflavored kombucha (from previous batch or store-bought kombucha) 470 mL
- 1 or 2 SCOBYs 1 per container
Second Fermentation
- Homemade kombucha from the first fermentation
- Sweetener
Instructions
Making a SCOBY
- Make Tea: Bring water to a boil in a clean pot. Remove from heat and dissolve sugar into it. Add the tea and allow to steep while water cools to room temperature. Only when water is at room temperature (test by drawing out some water with a straw), is it ready to work with!
- Add Starter: Pour the sweetened tea into your jar(s), then pour store-bought kombucha in (if you’re using two jars, pour ½ of the store bought kombucha into each).
- Ferment: Cover with a few layers of the tightly woven cloth and secure with a rubber band. Set somewhere dark and room temperature (70-75 degrees F, 21-24 C) for 1 to 4 weeks, until a ¼ inch (½ cm) SCOBY has formed.
First Fermentation
- Make Tea: Bring water to a boil in a clean pot. Remove from heat and dissolve sugar into it. Add the tea and allow to steep while water cools to room temperature.
- Add Starter: With really clean hands, gently remove your SCOBY from the tea and place on a clean plate. Rinse out jar(s). Pour the sweetened tea into your jar(s), then pour in starter kombucha.
- Ferment: Gently place SCOBY into jar then cover with a few layers of the tightly woven cloth and secure with a rubber band. Set the jar(s) somewhere dark and room temperature (70-75 degrees F, 21-24 C) for anywhere from 6 to 10 days. Begin tasting the tea at about 6 days by gently drawing out some of the tea with a straw. The longer the tea ferments, the more sugar molecules will be eaten up, the less sweet it will be.
- And Repeat: Reserve 2 cups from this batch to use as starter kombucha for your next batch (just leave it in the jar with the SCOBY(s)). The rest can move into the second fermentation.
Second Fermentation
- Flavor: Strain kombucha and funnel into bottles, leaving about 1 1/2 inches at the top (3.8 cm). Add your chosen sweetener and seal tightly with lid.
- ***** add raspberry or strawberry plus ginger (1-3t/16oz) + 1/4t - 1t/16oz depending on sweetness of fruit. Or add 10% fruit juice. For 16oz bottle this is .2 cup so a short 1/4c.
- Ferment: Let ferment somewhere dark and room temperature for 3 to 10 days.
- Serve: If desired, strain out fruit before serving. Place in fridge to slow the carbonation process.
I really like this infograph located at https://brewbuch.com/how-to-make-kombucha/