I just happened along her website.
For an intro on this project, check out my previous post.

Supplies:
2.5mm crochet hook
6 strand embroidery thread
30 size 6 glass beads
large sewing needle small enough to go through the beads
6 strand embroidery thread
30 size 6 glass beads
large sewing needle small enough to go through the beads
Abbreviations:
sl st: slip stitch
ch: chain
st: stitch
ch: chain
st: stitch
Thread 30 seed beads onto your embroidery floss.
Row 1: Leave a 7-8 inch tail. Ch. 39. Turn
Row 2: Sl st in back ridge of the 2nd ch from hook. Sl st in each chain across. Turn.
Row 3: Ch. 1. Sl st in each of next 4 st. Sl st a bead in each of next 30 st. Sl st next 4 st. Turn.
The bead part isn’t as hard as it sounds. Push each bead tightly to the work before inserting your hook into the stitch to complete the slip stitch. The bead should now be on the right of your hook, while the unused beads continue to be on the left of the hook. (for right handers)
Row 4: Ch 1. Sl st in each st across. Leave a 7-8 inch tail and fasten off.

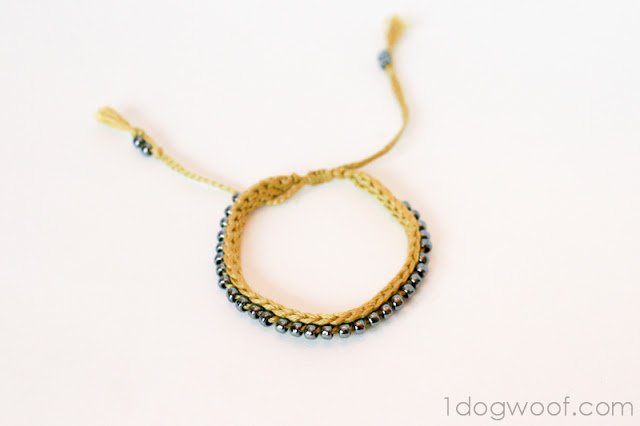
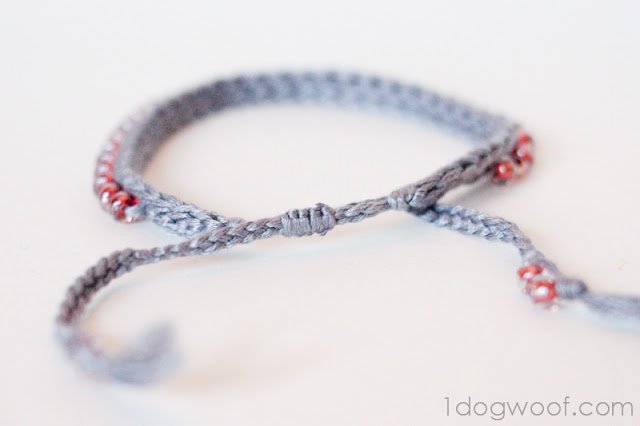
Now you have the body of the bracelet with a two tails on the same side of the bracelet. Now cut 3 lengths of embroidery floss, each about 14-15 inches (twice the length of a tail). Loop one of the strands on the end with the tails, and loop the other two strands on the other end,so you have 4 “tails” on each end of the bracelet. You can use a lark’s knot or just tie it however you need to secure it to the body. Now work a 4-way braid on each end. The length of the braid is up to you – it’ll depend on whether you want to make the bracelet adjustable or just tie the ends together. If you want to make the ends adjustable, you’ll have to create an adjustable knot macrame knot [bad link] (or a series of square knots) to hold the two ends together.


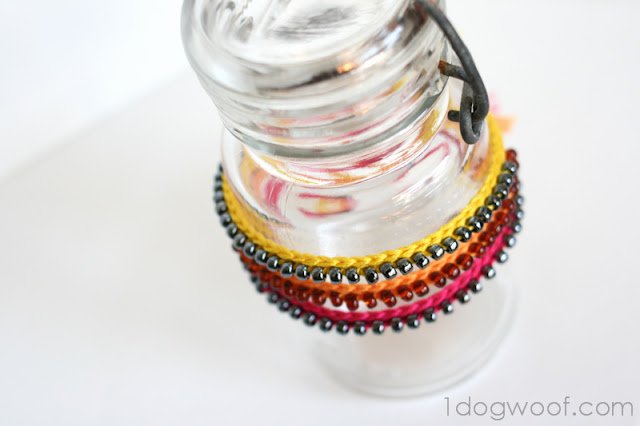
For mine, I ended the braids with a knot, added a couple more beads and tied another knot to hold them in place. The finishing touches are completely up to you!
No comments:
Post a Comment